Is your air conditioner leaking? Don’t fret! AC leaks are a common issue that many homeowners face, but with the right troubleshooting steps, you can quickly identify and resolve the problem. In this guide, we will explore the best troubleshooting steps for AC leaks to help you keep your home cool and comfortable.
Identifying the Leak
The first step in troubleshooting an AC leak is to identify where the leak is coming from. Start by checking around the base of your AC unit for any signs of water pooling or dripping. Additionally, inspect the condensate drain line for any clogs or blockages that may be causing water to back up and leak into your home. By pinpointing the source of the leak, you can better determine the next steps to take.
Checking the Condensate Drain Line
One common cause of AC leaks is a clogged condensate drain line. Over time, dirt, debris, and algae can build up in the drain line, preventing water from properly draining away from your AC unit. To check for a clog, locate the condensate drain line near your AC unit and gently remove the PVC cap. If water does not flow freely from the drain line, you likely have a clog that needs to be cleared.
Clearing a Clog in the Drain Line
If you have determined that a clog is causing your AC leak, there are several methods you can use to clear the blockage. One effective way to clear a clog is to use a wet/dry vacuum to suction out any debris from the drain line. Alternatively, you can use a mixture of vinegar and water to flush out the line and remove any built-up algae or dirt. By clearing the clog in the condensate drain line, you can prevent water from leaking into your home.
Inspecting the Air Filter
A dirty or clogged air filter can also contribute to AC leaks by restricting airflow and causing the evaporator coils to freeze up. Check your air filter regularly and replace it if it appears dirty or clogged. A clean air filter not only improves the efficiency of your AC unit but also helps prevent leaks and other issues from occurring.
Examining the Evaporator Coils
Frozen evaporator coils can also lead to AC leaks as the ice melts and water overflows from the drip pan. Inspect the evaporator coils for any signs of frost or ice buildup and ensure that they are clean and free from debris. If you notice ice on the coils, turn off your AC unit to allow the ice to melt before restarting it. Keeping the evaporator coils clean and free from obstructions can help prevent future leaks.
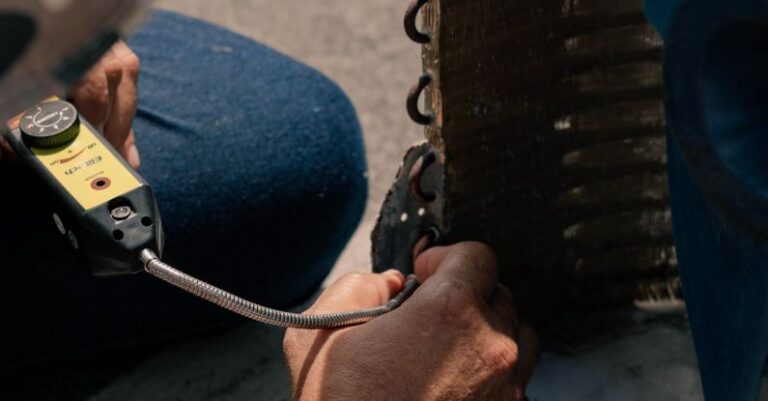
Checking the Refrigerant Levels
Low refrigerant levels can cause the evaporator coils to freeze up and lead to AC leaks. If you suspect that low refrigerant may be the culprit, it is best to contact a professional HVAC technician to inspect and recharge your system. Attempting to add refrigerant yourself can be dangerous and may void your warranty, so it is always best to leave this task to the experts.
Preventing Future Leaks
Once you have resolved the current AC leak, there are steps you can take to prevent future leaks from occurring. Regular maintenance, such as cleaning the air filter, inspecting the condensate drain line, and scheduling annual tune-ups with a professional technician, can help keep your AC unit running smoothly and efficiently. By staying proactive and addressing any issues promptly, you can enjoy a cool and comfortable home without the worry of unexpected AC leaks.
In conclusion,
AC leaks can be a frustrating and disruptive problem, but by following these troubleshooting steps, you can quickly identify and resolve the issue. From checking the condensate drain line to inspecting the evaporator coils, taking proactive measures to maintain your AC unit can help prevent leaks and keep your home cool and comfortable all summer long. Remember, if you encounter a persistent or complex AC leak, it is always best to seek assistance from a qualified HVAC professional to ensure that your system remains in top condition.